Interior panelling
![]()
Give your walls and ceilings a natural, eco-friendly appeal with our Campagnard quality interior wood panelling.
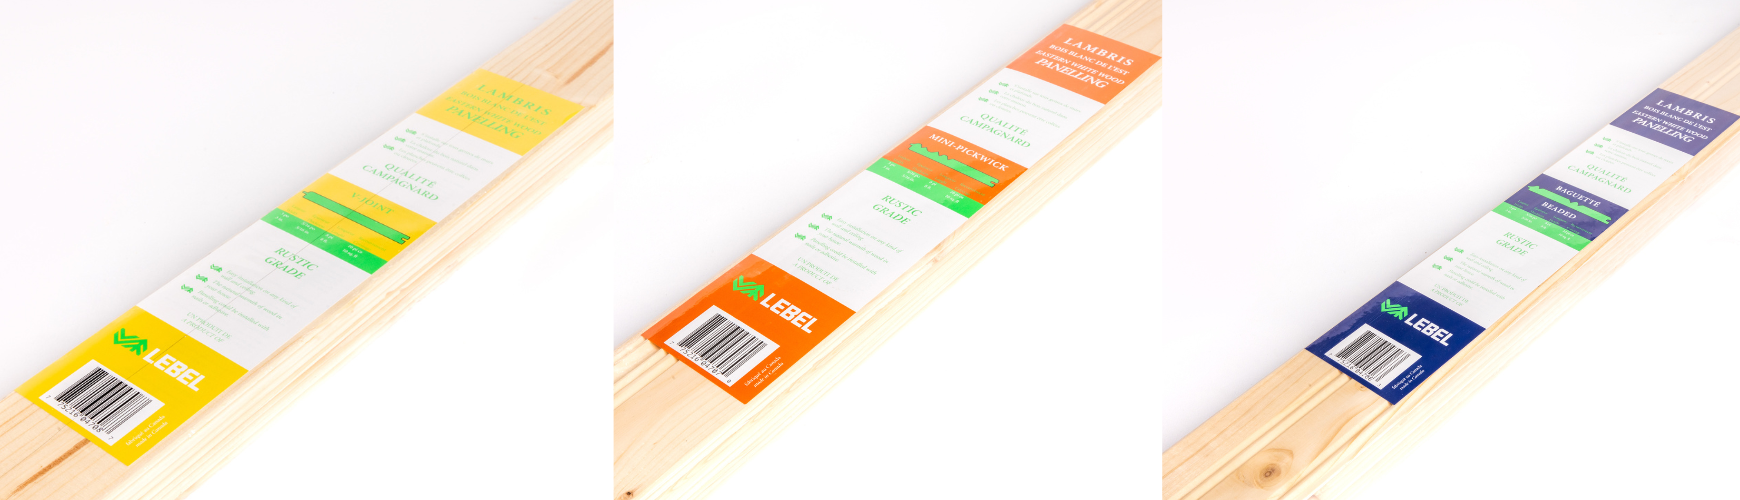
3 different patterns available :

- V-Joint
- Mini-Pickwick
- Beaded.
Cottage Quality
- Knotty wood, which may include black knots, staining and other natural wood characteristics such as : splitting, wane, girdling, bark pocket, honeycomb decay, etc.
Each pack contains 5 fir or spruce boards that can be nailed or glued. Achieve the desired final appearance with varnish, stain or paint.
Why choose interior wood cladding ?
- Wooden interiors are timeless and have a low environmental impact.
- Their natural appearance contributes to the well-being of occupants, and to the innate affinity of human connecting with nature (biophilia).
Easy 10-step installation
- Before you start - Preparing the walls
Installing wood wall panelling indoors starts with preparing the walls, making sure they are clean and dry, and that the surface is flat. Carefully measure height and width to determine the amount of paneling required. - Before you start - Board storage
Store the boards for at least 72 hours in the room where they will be installed, take care to open the packaging. The surface on which the boards will be laid must be dry and free of defects. - Tools required
Level, hammer or staple gun, finishing nails, saw, tape measure, pencil, stud locator. - Locate nailing zones
Locate the studs or wooden battens in the wall or ceiling and mark their location with a pencil for nailing. - Glue or nails ?
The use of finishing nails or staples is recommended on wood. Be sure to nail/staple into the wood studs or battens to secure the paneling. If you use glue, be sure to follow the glue manufacturer's instructions. - Warning
5/16" panelling cannot be installed on spaced laths; it must be installed on a flat surface (e.g., drywall). Be sure to stagger the joints so that the tongue-and-groove joint locks into place for a better appearance. - Horizontal installation
Start at the bottom of the wall (groove to floor) or on one side of the ceiling (groove to wall). Make sure the first board is perfectly horizontal. Place the nails at an angle in the groove, so that they are not visible. If you use nails, it's recommended to drill holes in the ends of the boards to prevent splitting. - Vertical installation
Start in a corner, with the groove facing outwards. As with horizontal installation, make sure that the first row of boards is perfectly vertical. - Diagonal installation (at 45 degrees)
Start in a corner. Draw a line at a 45-degree angle to guide you. You'll need to cut the end of the board at a 45-degree angle so that it can rest perfectly on the wall. - Finishing
Finish off with mouldings for a more professional look.
CUSTOMER SERVICE
SALES OFFICE
For more information on our products, please contact us: carole.ouellet@groupelebel.com.
DOCUMENTATION
Literature